I’ve been called into more new restaurants, bars, and retail spaces on opening day than I can count, and the conversation always starts the same way: “I wish someone had told me about this before we signed.” Restaurant buildout IT is one of those areas where decisions made before the lease is finalized are dramatically cheaper than the same decisions made after. Here are the five worth getting right.
1. Confirm the building actually has the internet you need
Most restaurant and bar owners simply assume the suite they’re touring has business-grade internet available. Often, it does. Sometimes, it doesn’t. And sometimes the only available service is too slow for what a modern operator actually needs.
Walk the space and ask three questions. First, who are the available ISPs at this address? Just one wired provider limits your negotiating leverage and your redundancy options. Second, is fiber available, or only cable and DSL? Cable internet works for browsing, however, it typically has asymmetric upload speeds — and your security cameras, POS sync, and guest WiFi all need real upload bandwidth to function properly. Third, where does the demarc — the point where the ISP’s service enters the building — actually live? If it’s at the wrong end of a long space, you’ll pay for cabling to bring it to your network closet.
Get the answers in writing before you sign. Some landlords will even negotiate fiber installation as part of the lease if you ask early enough.
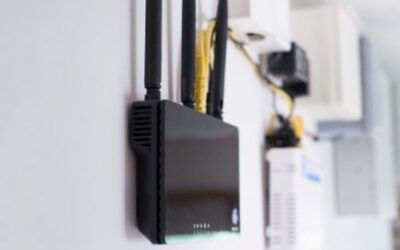
Plan for cellular failover. If only one wired ISP is available — which is common in older Inland Empire strip malls — cellular failover is the standard answer. We install a Ubiquiti 5G Max for indoor network closets, or a Ubiquiti 5G Max Outdoor for sites where the signal is better outside the building. The cellular link sits dormant until your wired internet goes down, then takes over automatically. Your POS keeps running, your customers don’t notice, and you find out about the outage from the morning report instead of from angry guests at the bar. For any restaurant or bar where the cost of a thirty-minute payment-processing outage on a Saturday night is more than the cost of a year of cellular service, this is the math that pays for itself quickly.
2. Plan your cable runs now, not after the drywall goes up
The cheapest cable run in the world is the one that gets pulled while the walls are still open. In fact, every drop you add later — for a POS terminal you didn’t plan, an access point covering a dead spot, a camera over a problem area, a kitchen display screen — costs five to ten times as much because someone has to fish it through finished construction. And the cable that gets fished after the fact is usually less reliable.
Walk the space with a paper drawing and mark every place a cable might need to go: each POS station, each kitchen display, each camera location, each ceiling access point, each phone, each door reader. Then add a few more — because later, you’ll wish you had.
If you’re using your contractor’s standard low-voltage subcontractor, get their proposed drop count in writing and review it before any walls close. Most generic buildout cabling plans run too few drops in the kitchen and back office, which is exactly where you’ll need them most on opening day.
3. Know what your ceiling will (and won’t) support
Actually, the ceiling type matters more than most owners realize. A drop ceiling with removable tiles is the friendliest scenario: cameras and access points can be mounted and serviced without ladder gymnastics. A hard ceiling — drywall or exposed structure — means surface-mounted equipment, exposed cabling, and harder maintenance.
Ceiling height is the other variable. While bars and dining rooms with high vaulted ceilings often look great architecturally, they tend to kill WiFi coverage because access points designed for office-height ceilings can’t push signal effectively from twenty feet up. Similarly, low ceilings over a kitchen line need access points rated for heat and grease — not the standard office-grade gear.